How to activate the Telnet Client in *ALL* Windows versions

Hello!
Surely, you must have used the Telnet Client for various tasks, involving networks between multiple Personal Computers (PCs), or workstations, if you are in an environment that requires a server. It is a powerful tool included with Microsoft Windows. However, often (especially in the latest versions of Windows), this tool is not installed by default, which can be an inconvenience for businesses and power users. But don’t worry, because in this article I will show you how to activate the Telnet Client, from Windows 95* up to Windows 10.
Windows 95*
- Click on Start.
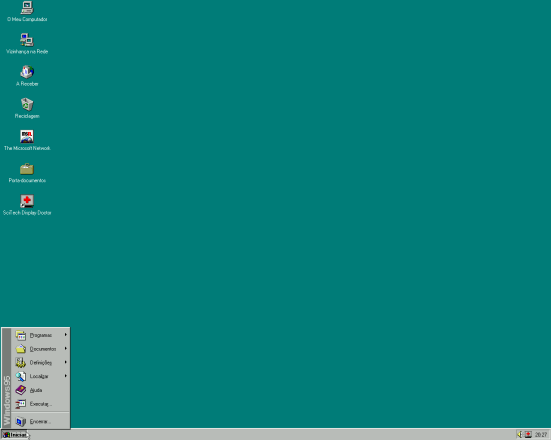
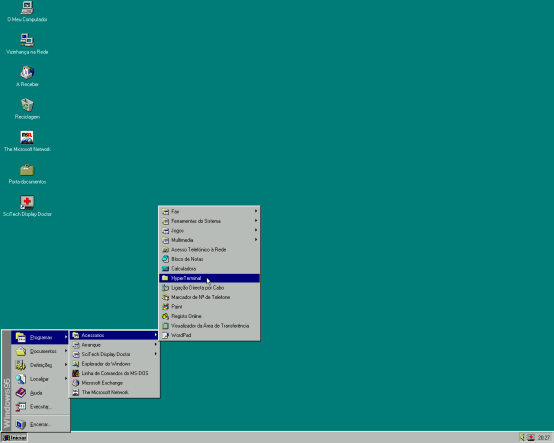
- Then click on Programs -> Accessories -> HyperTerminal.
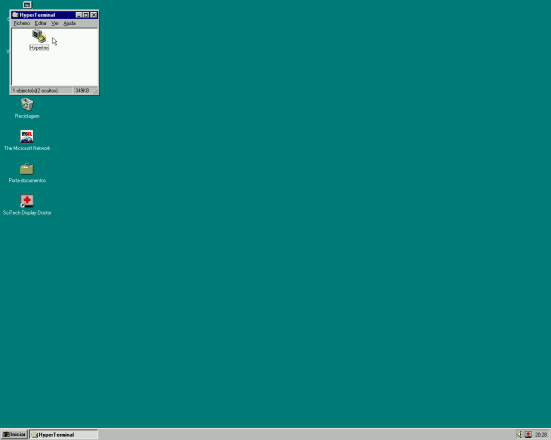
- Now, an Explorer window will open. Double-click the executable Hypertrm.
- And here is HyperTerminal…
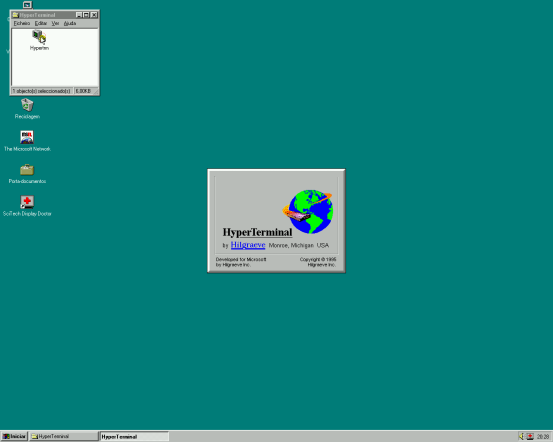
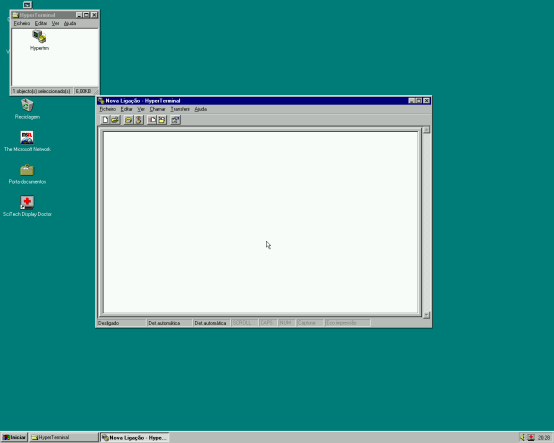
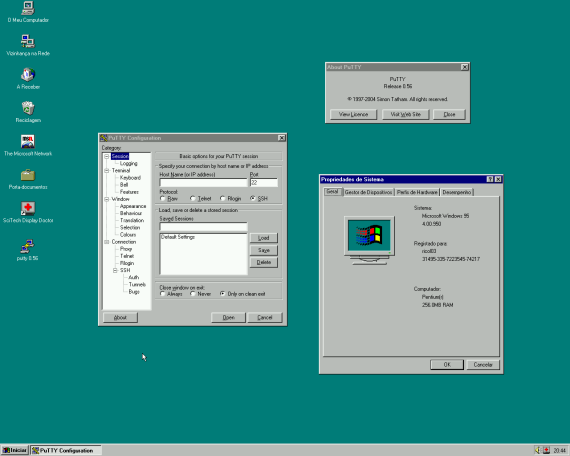
*This Telnet client ONLY works (at least in this version of the program) with modem connections, that is, over a phone line. If you have a machine with one of these ports, or if you have an external modem, you can use this program. But, certainly, as most of you do not possess this equipment, you will have to resort to alternative programs for using the Telnet protocol with Windows 95. I strongly recommend the PuTTY program, specifically version 0.56, which worked for me. Note that these old versions are potentially dangerous because exploits were found in them.
Windows NT 4.0, Windows 98 (FE and SE), Windows 2000, Windows ME and Windows XP
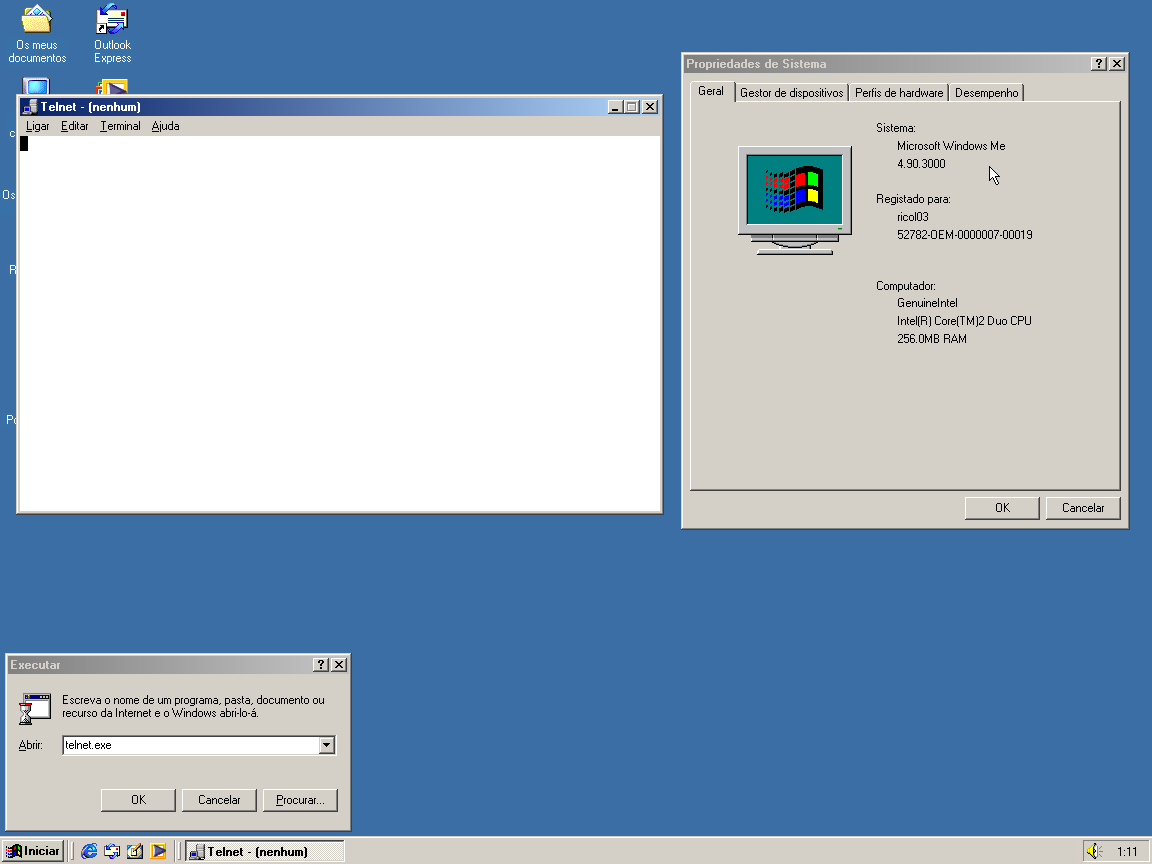
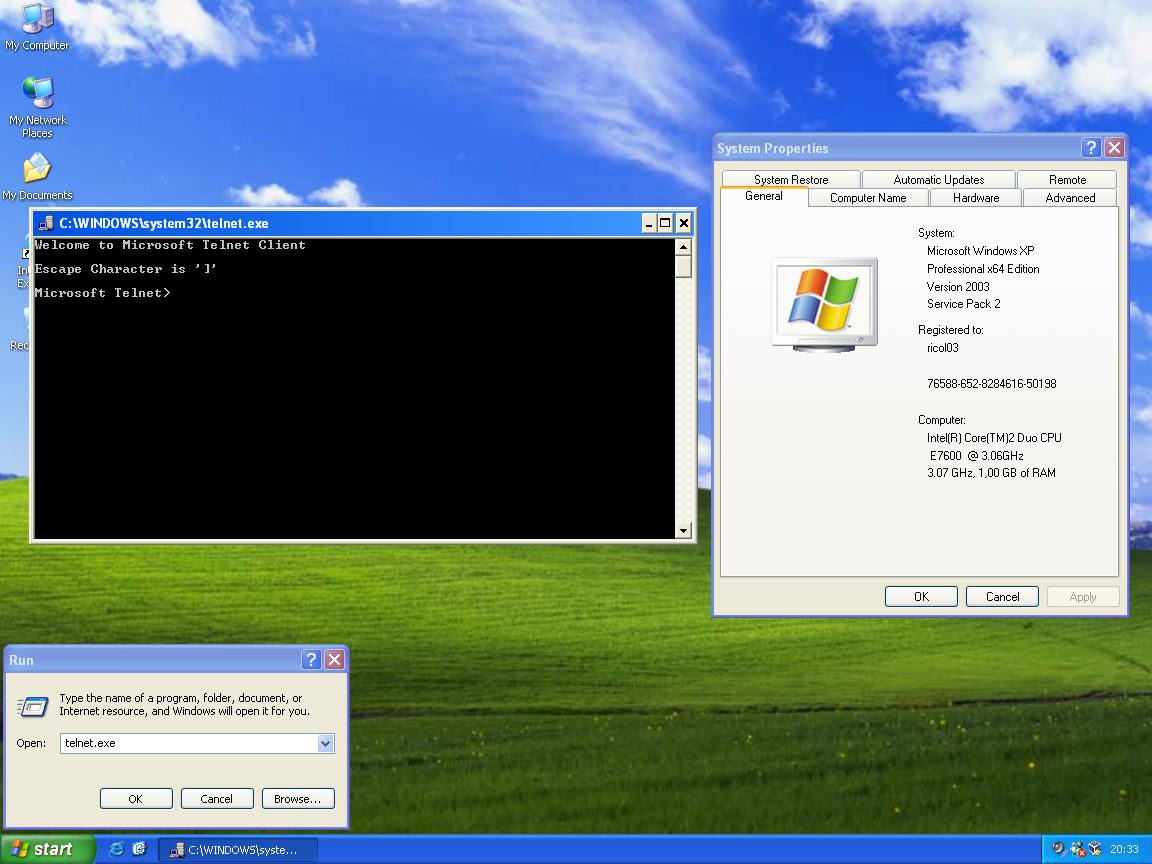
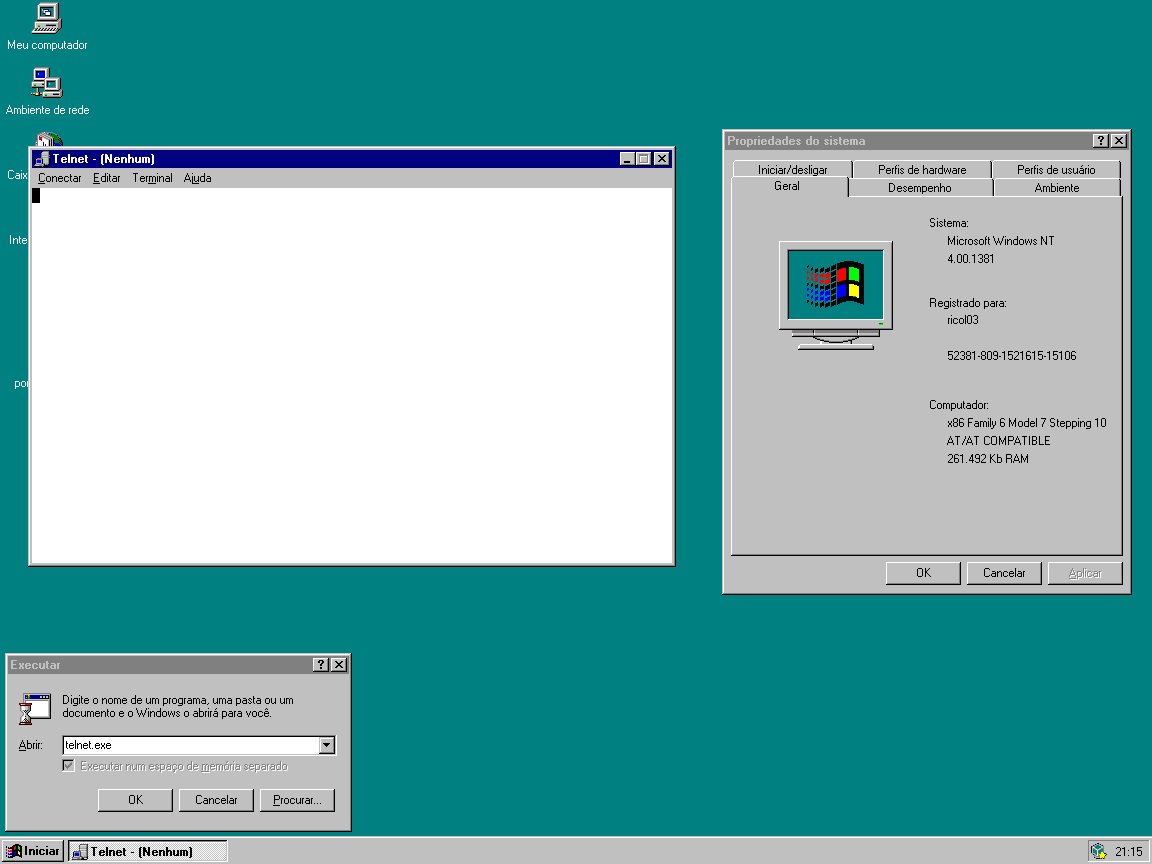
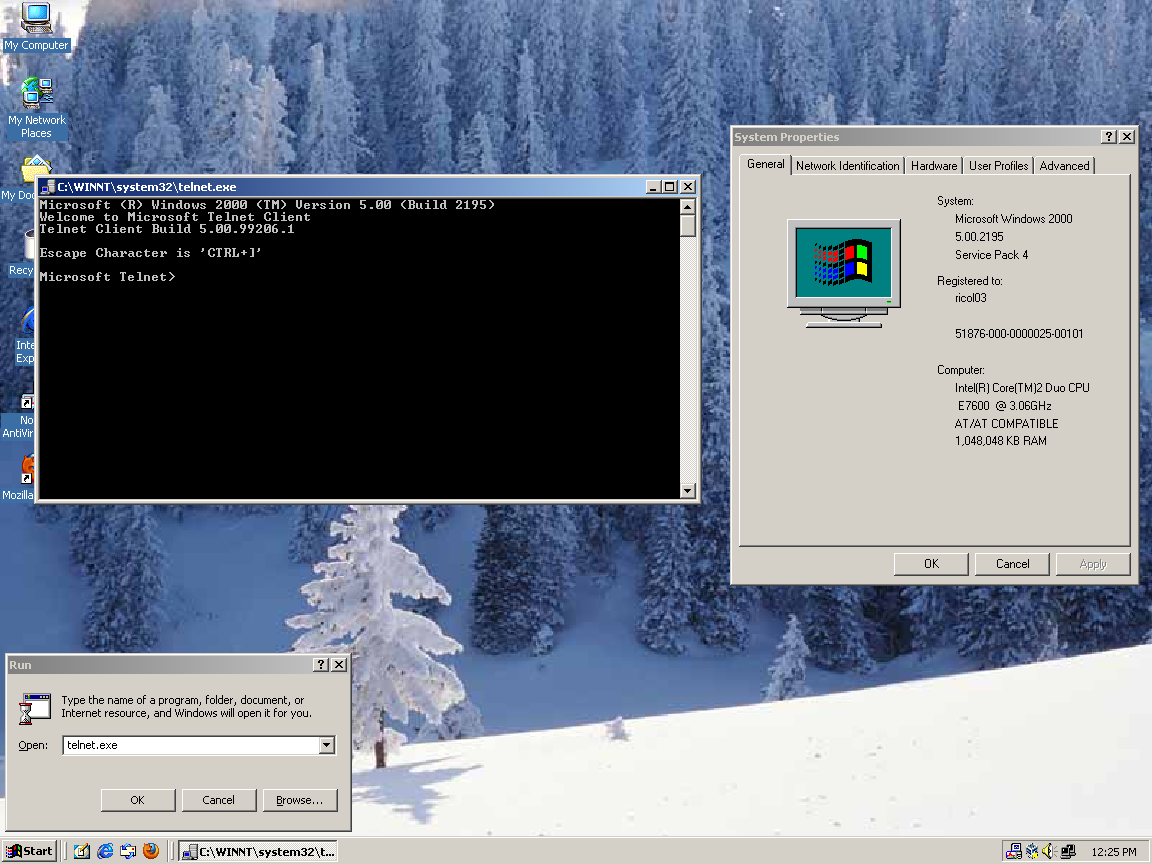
Starting from these versions of Windows, Microsoft provided its own Telnet client. However, HyperTerminal, introduced in Windows 95, remained included as an “alternative” until Windows XP. The example screenshots presented below are from Windows 98 Second Edition, but the instructions work perfectly on the remaining operating systems in this category. After these instructions, I will show a screenshot for each operating system.
- As before, click on Start.
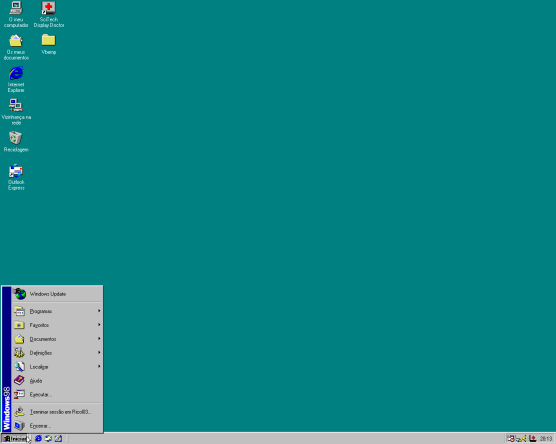
-
Click on Run. (You can speed up the process by pressing Win + R! :P)
-
Now, type into the dialog box: telnet.exe
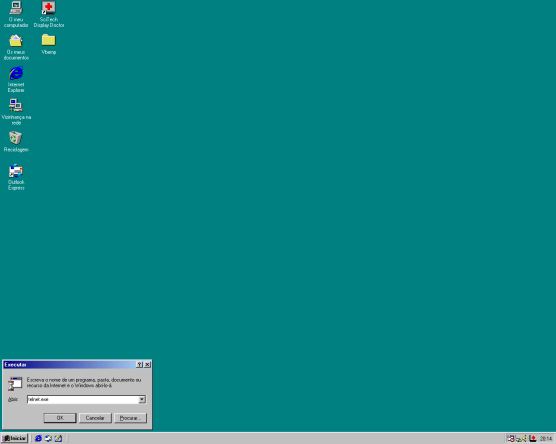
- And there you have it. The Microsoft Telnet client.
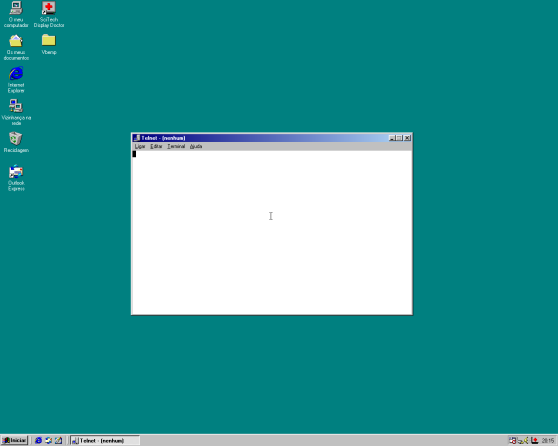
The screenshots for each OS follow:
Windows Vista, Windows 7, Windows 8/8.1 and Windows 10
Starting with the NT 6.x and 10.0 versions, the method to access the Telnet Client changed, although the program itself is the same. What is most noticeable is that the program is not available by default. It is necessary to activate the component. To achieve this, I will demonstrate the procedure with Windows Vista, but the same will apply to the remaining operating systems in this category, with slight visual differences.
- To start, click on Start.
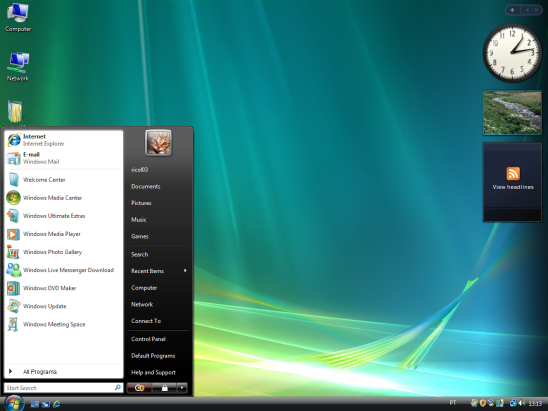
- Click on Control Panel.
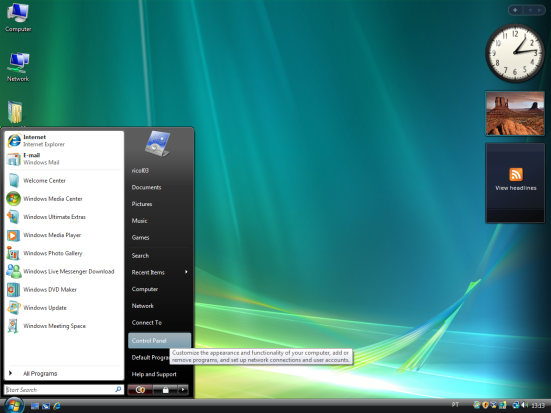
- Select Programs -> Turn Windows features on or off. The User Account Control will now appear. You must accept to proceed.
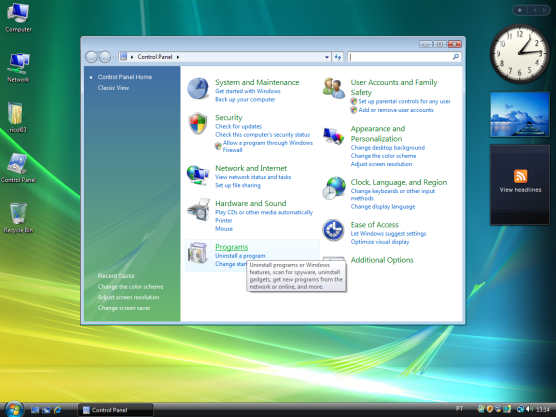
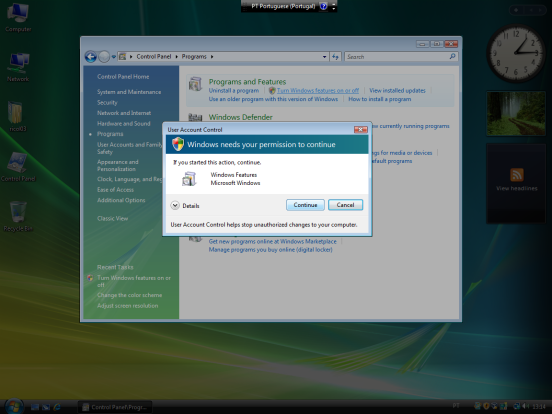
- Now, wait a moment. The program is indexing all optional components… When the list appears, look for Telnet Client. It should be the first option in the Portuguese version (Telnet Client in my case). Check the box on the left of the option and click OK.
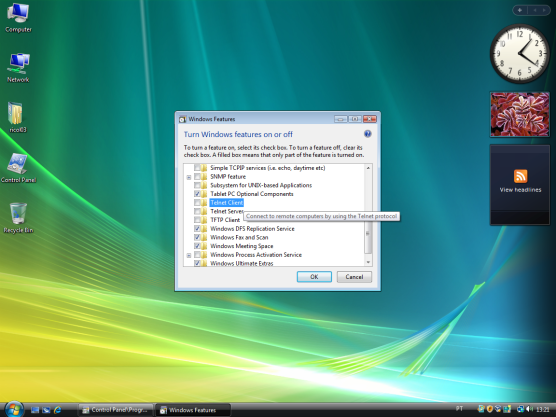
Wait a moment. Windows is activating and starting the necessary services for the selected component(s).
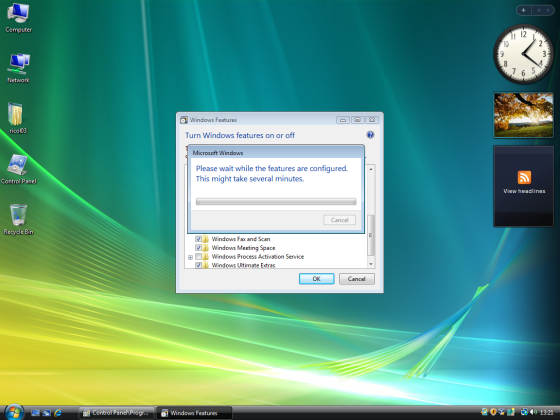
- After completing the operation, open the Start Menu again and type: telnet into the dialog box. A result should appear. If more results appear, guide yourself by the program icon. You can observe it in the image below:
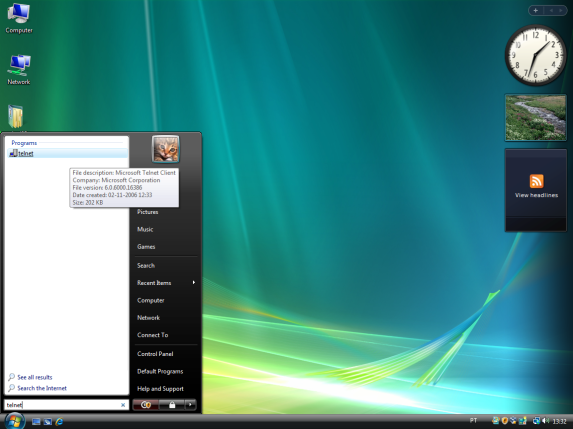
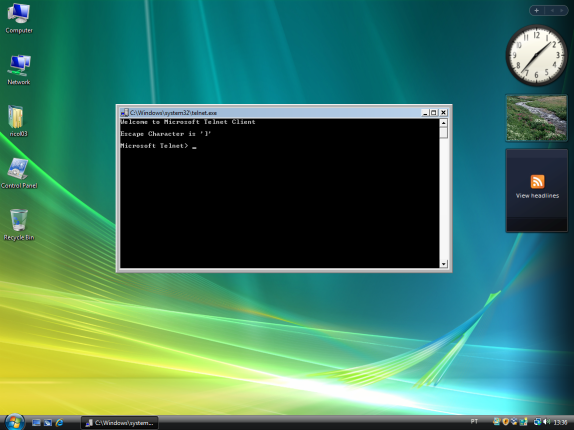
And there you have it! I hope you enjoyed it. In the future, I will edit this post to include some screenshots of the remaining operating systems (Windows 7, Windows 8, and Windows 10), as I currently do not have the capability to do so. In a next article, I will start with a series on the anatomy of a personal computer, covering its main aspects. We will start with the brain of a PC, the Central Processing Unit (CPU).
Take care, and see you next time! :)